Create AWS EKS cluster with a Node Group
Back to projects
In this project, we’ll set up a Amazon EKS cluster with worker nodes. This includes creating IAM roles, VPC networking, the control plane, and EC2-based node groups. At the end, we’ll connect kubectl to the cluster and verify that everything is working.
Technologies
1- Create EKS IAM role
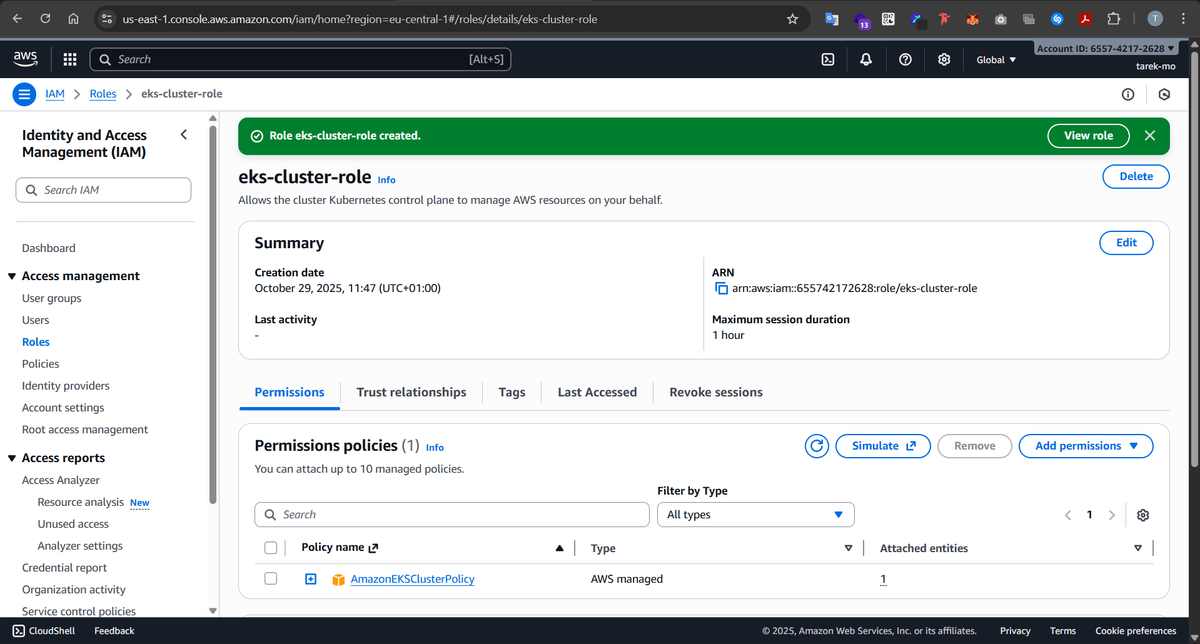
Before we can spin up our EKS cluster, we need to give EKS a role it can assume to manage resources on our behalf. So we create an IAM role called eks-cluster-role and attach the AmazonEKSClusterPolicy to it. This gives the control plane the permissions it needs to create networking, manage cluster state, and talk to other AWS services. Without this role, the cluster simply won’t be able to function.
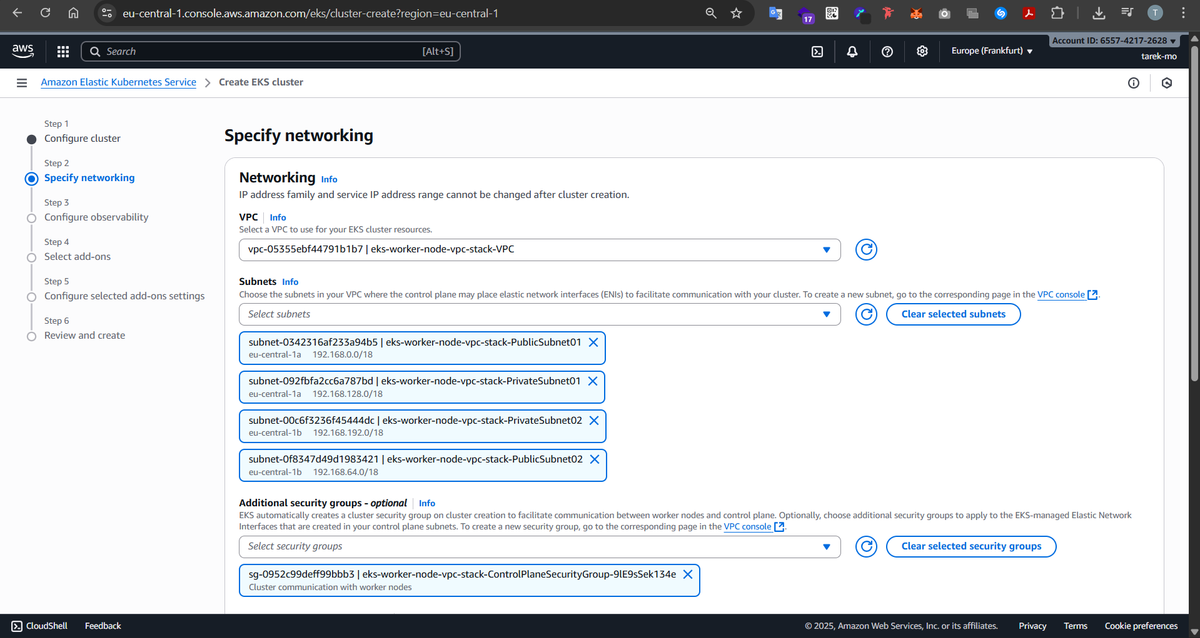
2- Create VPC for worker nodes
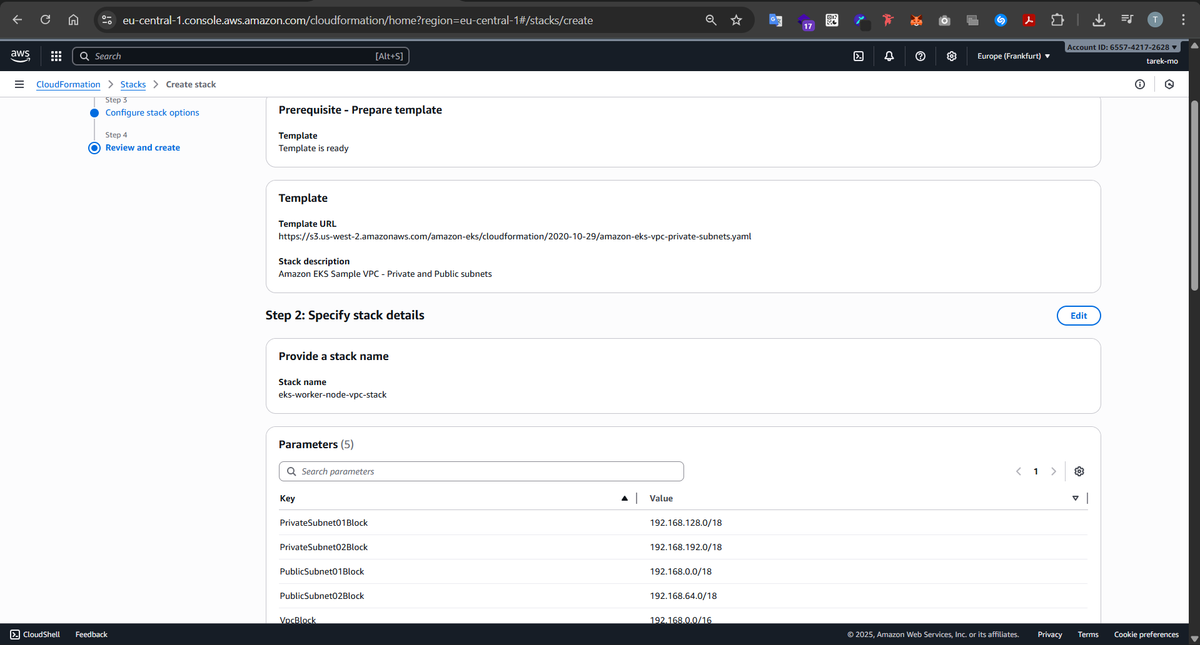
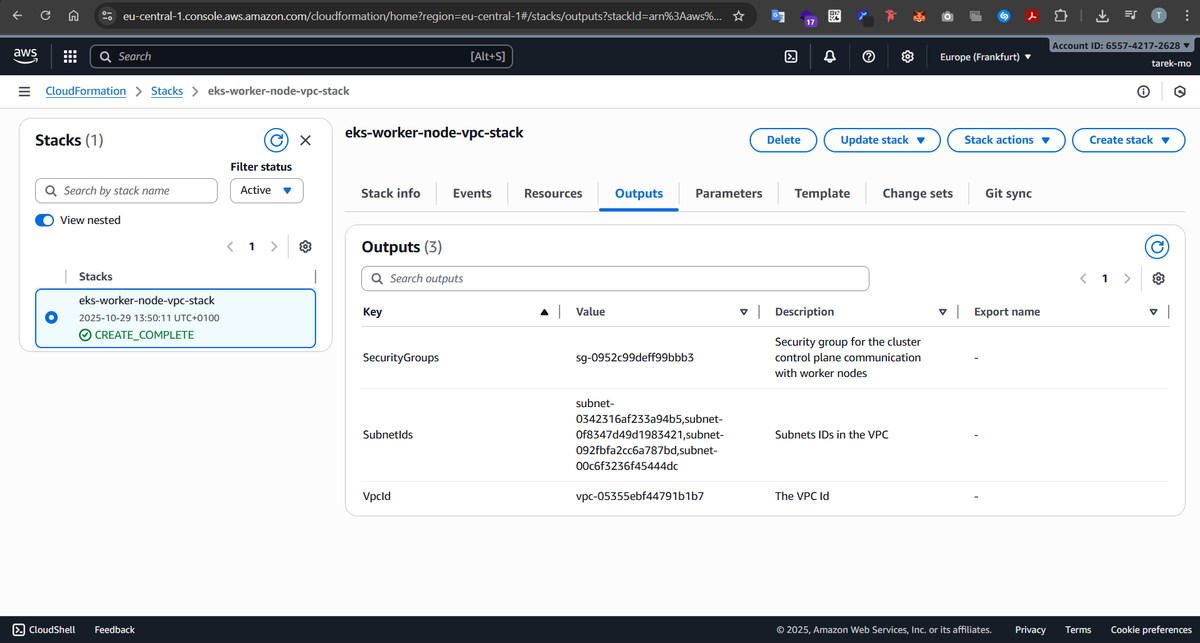
Next, we set up the networking. We create a VPC with four subnets spread across two Availability Zones — two public and two private.
Why both public and private? Public subnets are perfect for load balancers and bastion hosts that need to talk to the outside world. Private subnets, on the other hand, are where our worker nodes live, safely running pods and workloads that don’t need direct internet access. Spreading them across multiple AZs ensures high availability, so if one AZ goes down, the other can keep running our workloads.
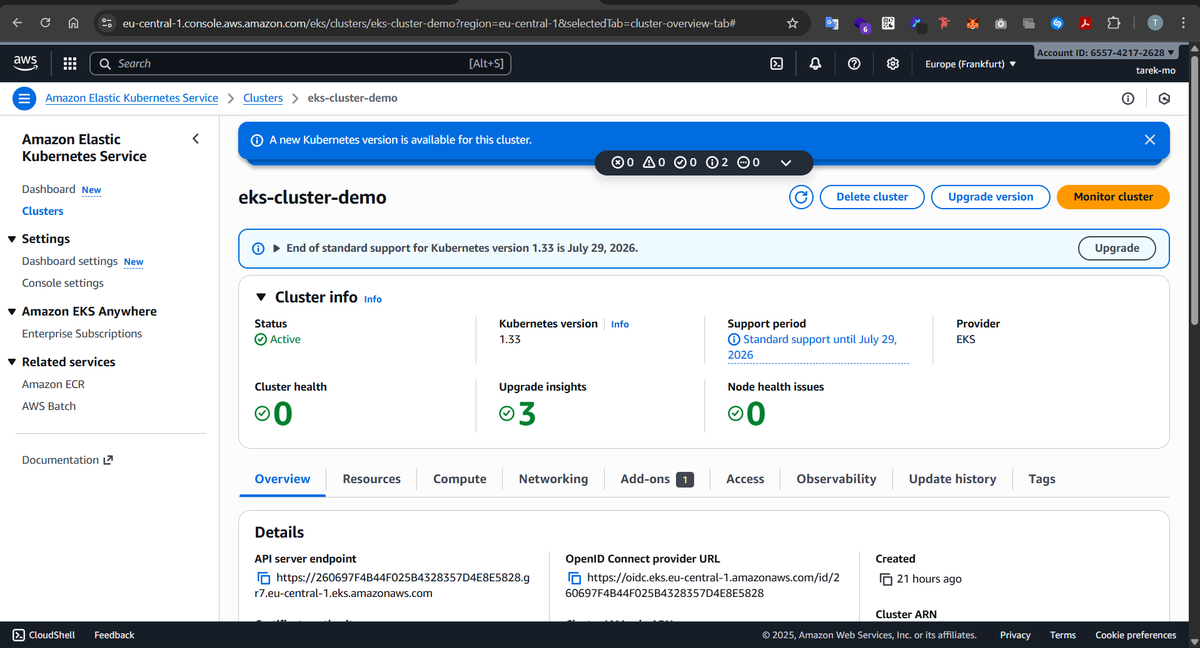
3- Create the EKS Cluster (Control Plane)
With IAM and VPC in place, it’s time to bring up the EKS cluster. The cluster control plane is fully managed by AWS — it runs the API server, etcd, and other controllers behind the scenes. Our VPC and subnets are where the worker nodes will live and communicate with the control plane securely. By attaching the cluster to the subnets we created, we make sure the control plane can talk to the nodes and the nodes can talk to each other.
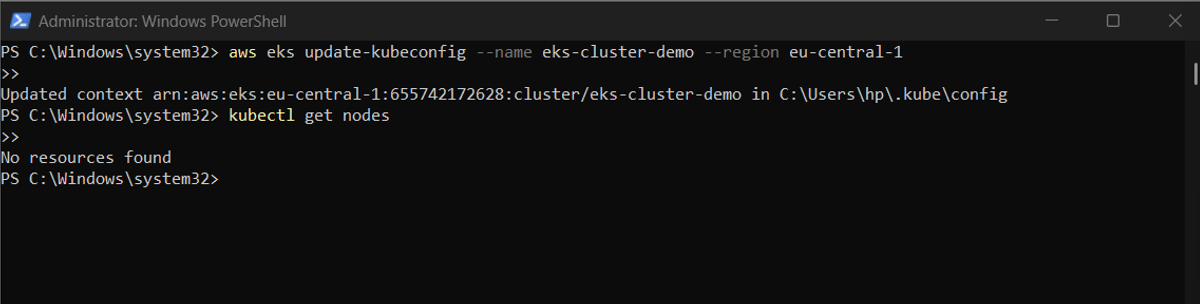
4- Connect kubectl to the EKS Cluster
Now that our cluster exists, we want to interact with it from our local machine. This is where kubectl comes in. By running:
aws eks update-kubeconfig --name eks-cluster-demo --region eu-central-1
we generate a kubeconfig entry for our cluster. This tells kubectl how to authenticate and where the API server is. A quick test with:
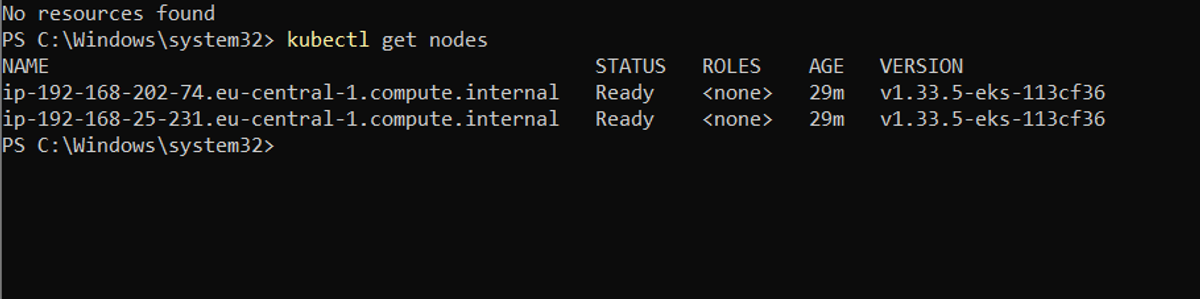
kubectl get nodes
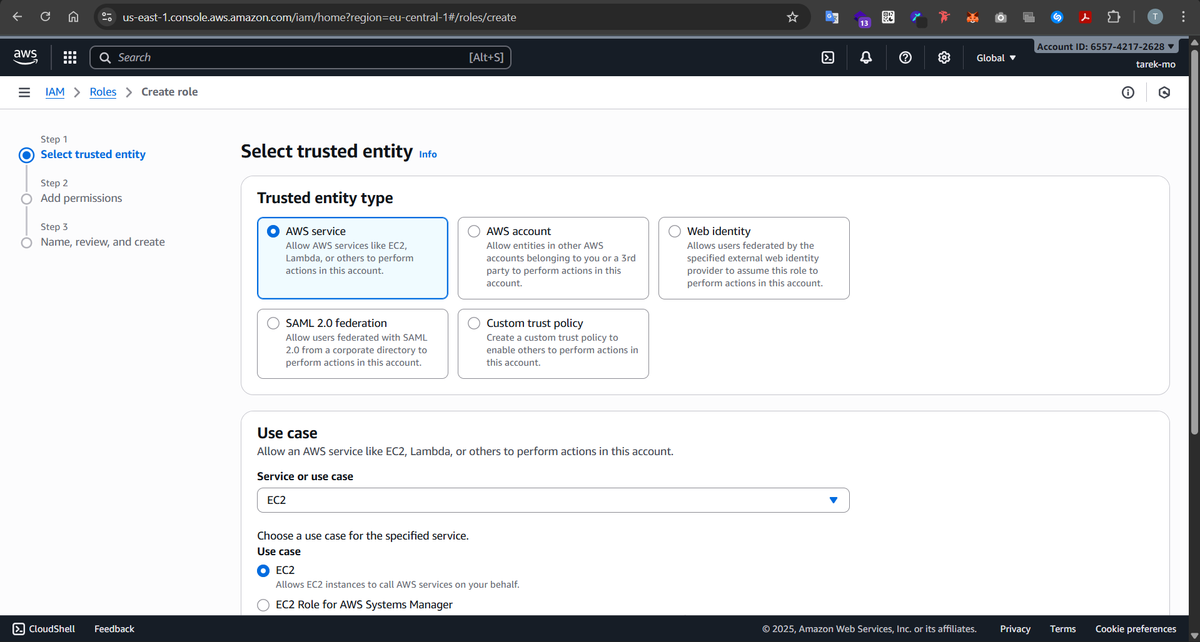
Create an EC2 IAM Role for the Node Group
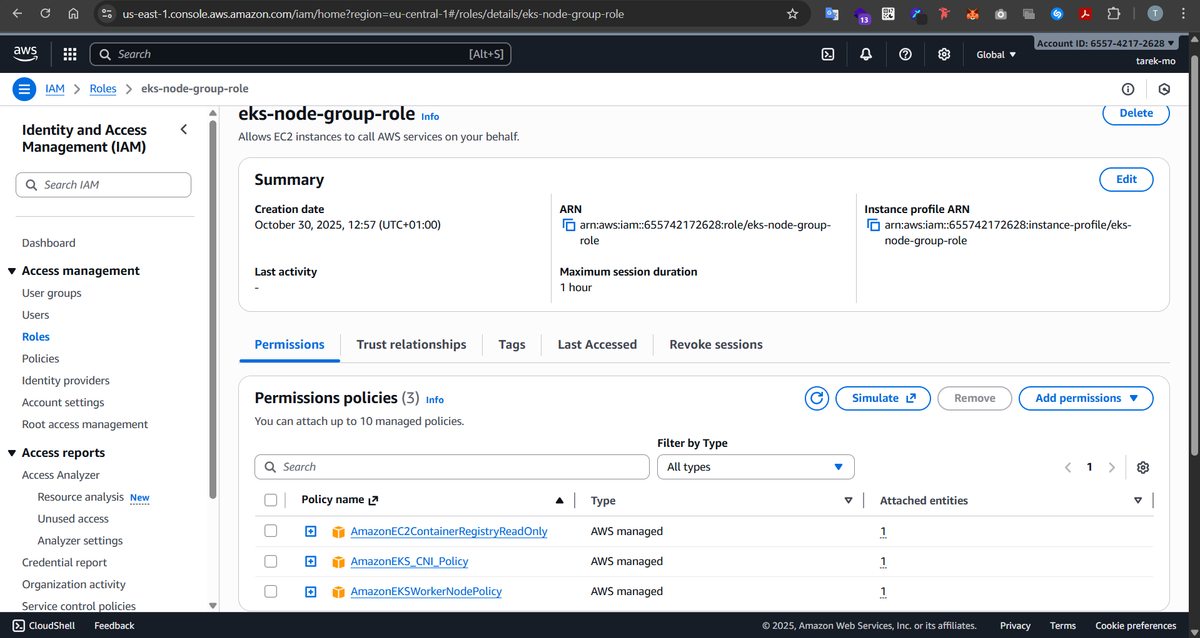
Worker nodes need their own permissions to do Kubernetes things, like pulling container images from ECR, attaching network interfaces, or communicating with the cluster. We create a role called eks-node-group-role and attach the following AWS-managed policies:
- AmazonEC2ContainerRegistryReadOnly – allows nodes to pull container images from ECR.
- AmazonEKSWorkerNodePolicy – allows the nodes to register themselves with the cluster.
- AmazonEKS_CNI_Policy – lets nodes manage network interfaces for pods.
Without this role, nodes wouldn’t be able to join the cluster or run workloads properly.
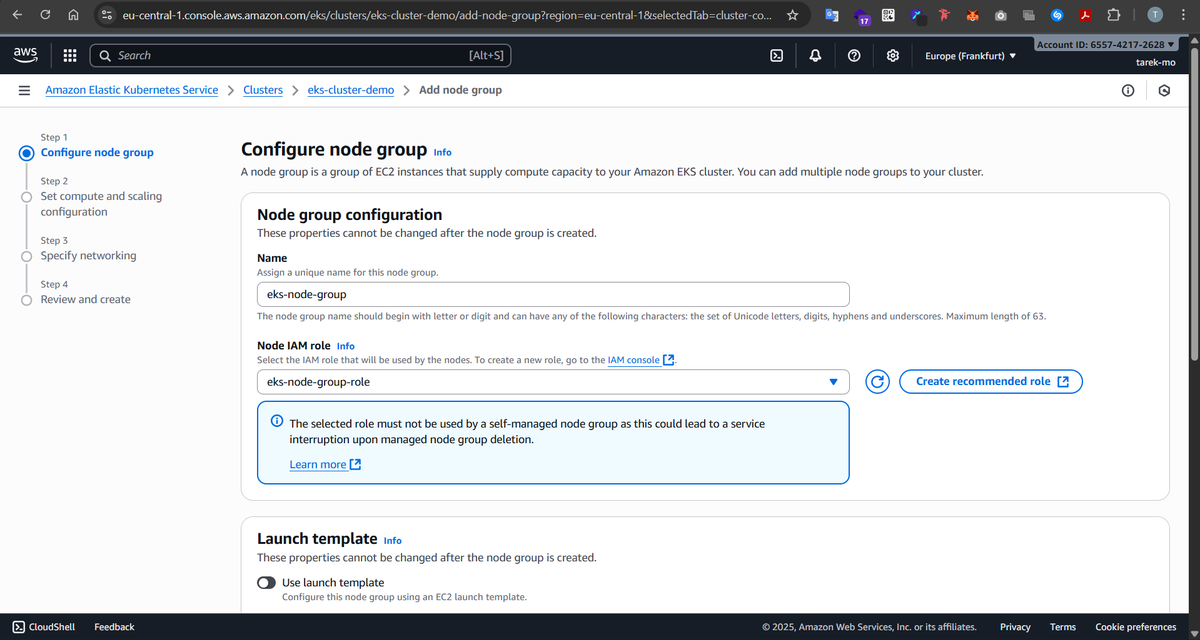
6- Create the Node Group and Attach it to the Cluster
Now it’s time to bring our worker nodes online. We create a node group with 2 EC2 instances (t2.micro), and we attach it to the cluster we created earlier. We select the same four subnets from the VPC — two public and two private.
Each node will automatically join the cluster using the IAM role we just created. The private subnets give them a safe home to run pods, while the public subnets allow AWS to assign public IPs if needed (for example, for troubleshooting or SSH via a bastion host). With this setup, our cluster is now fully operational, and we can start deploying workloads!


Now we can view that our 2 worker nodes and ready and available to be used: