Deploy MongoDB and Mongo Express into local K8s cluster
Back to projects
This project demonstrates deploying a MongoDB database and Mongo Express web client on a local Kubernetes cluster using Minikube. It showcases how to manage configurations with ConfigMaps, secure credentials with Secrets, and expose applications through Kubernetes Services.
Technologies
Chapter 1: Environment Setup
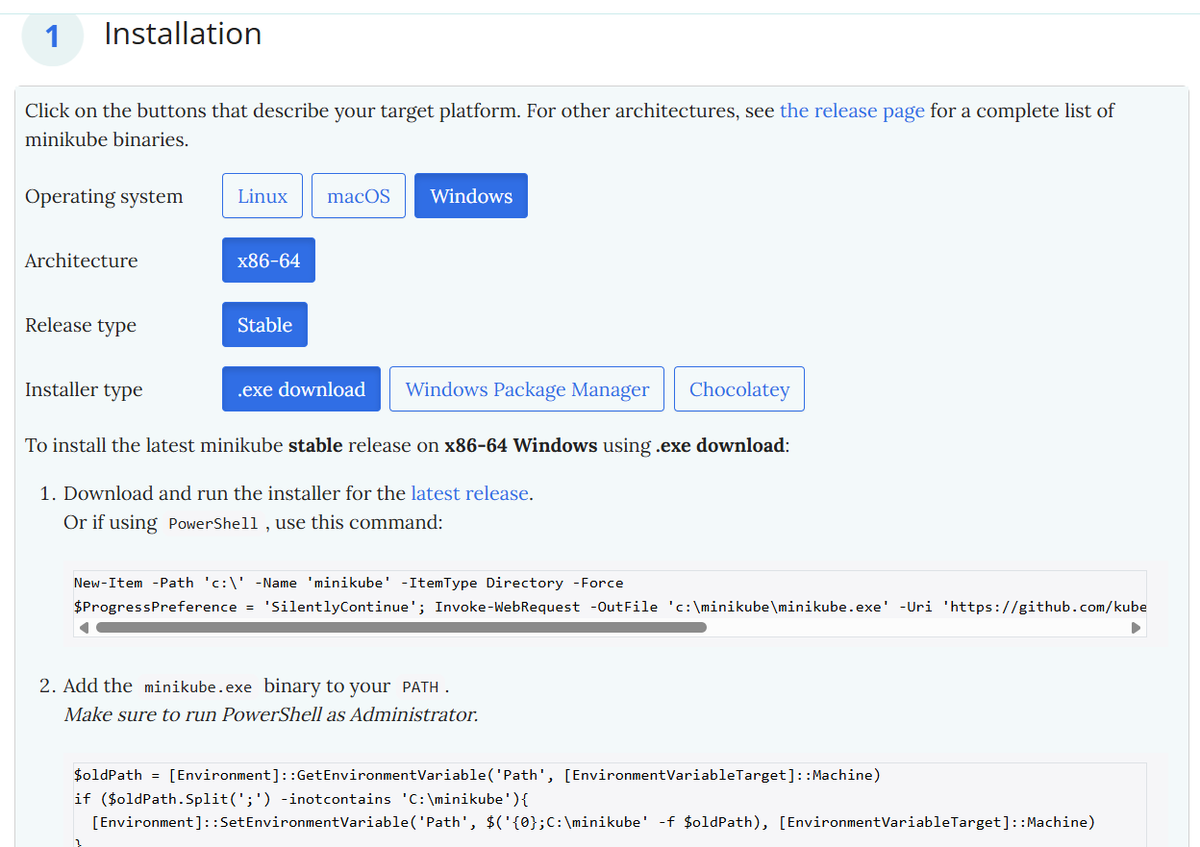
Firstly, we need to install Minikube for our project to run. Minikube is a tool that allows us to create a local Kubernetes cluster, which we’ll use to deploy MongoDB and Mongo Express as part of our demo project.
Next, we start our local Kubernetes cluster using Minikube. From the terminal with administrator access, we run minikube start and choose Docker as the container runtime for our demo project.

Chapter 2: Mongodb deployment setup
We need to create a mongodb deployment which will also create the underlying ReplicaSet and pods in order for mongodb container to be able to run and communicate internally with our mongo-express deployment later
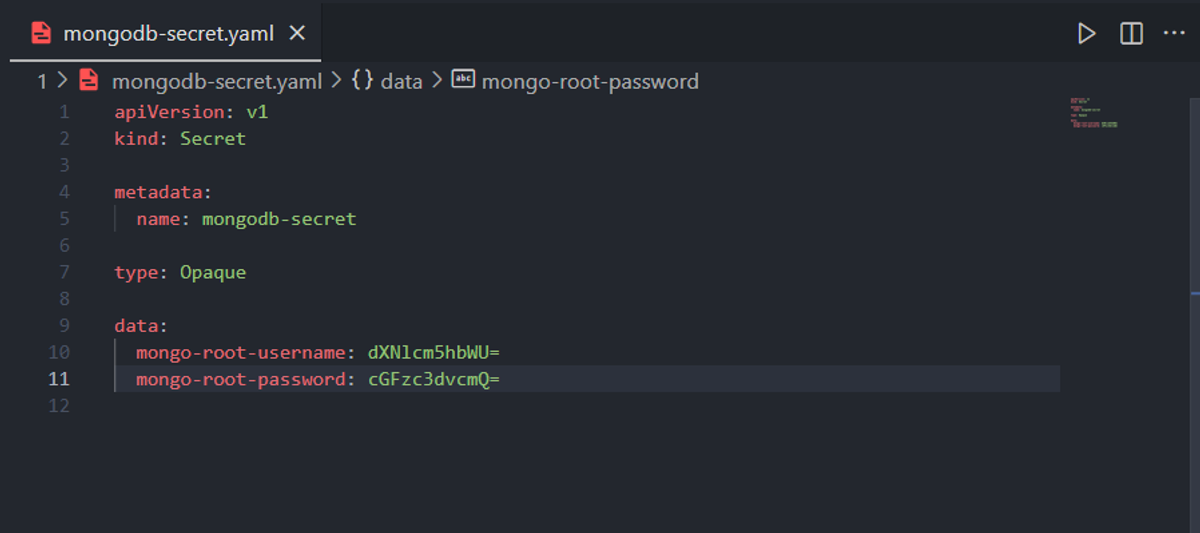
Step 1: mongodb-secret.yaml
Firstly we create a mongodb-secret.yaml file which contains our mongodb root username and password. We abstract these credentials in this secret file for security purposes
We apply this file by running the command:

Step 2: mongodb-deployment.yaml
Now we create the mongodb-deployment.yaml file which contains the blueprint for our mongodb deployment, we use the following params:
- spec.replicas: 1 which indicates that we only desire one pod to be running
- spec.selector.matchLabels.app: mongodb so that the deployment and its ReplicaSet knows which pods it should manage
- spec.template.metadata.labels.app: mongodb: this value had to match the previous app: mongodb attribute we talked about so that the deployment is able to find its associated pods
- spec.template.spec.containers: Is where we define the docker container that will be wrapped by kubernetes pods including its port we also reference the env variables we defined previously inside mongodb-secret.yaml here so that the container runs with the necessary env variables

We apply this mongodb-deployment.yaml file:
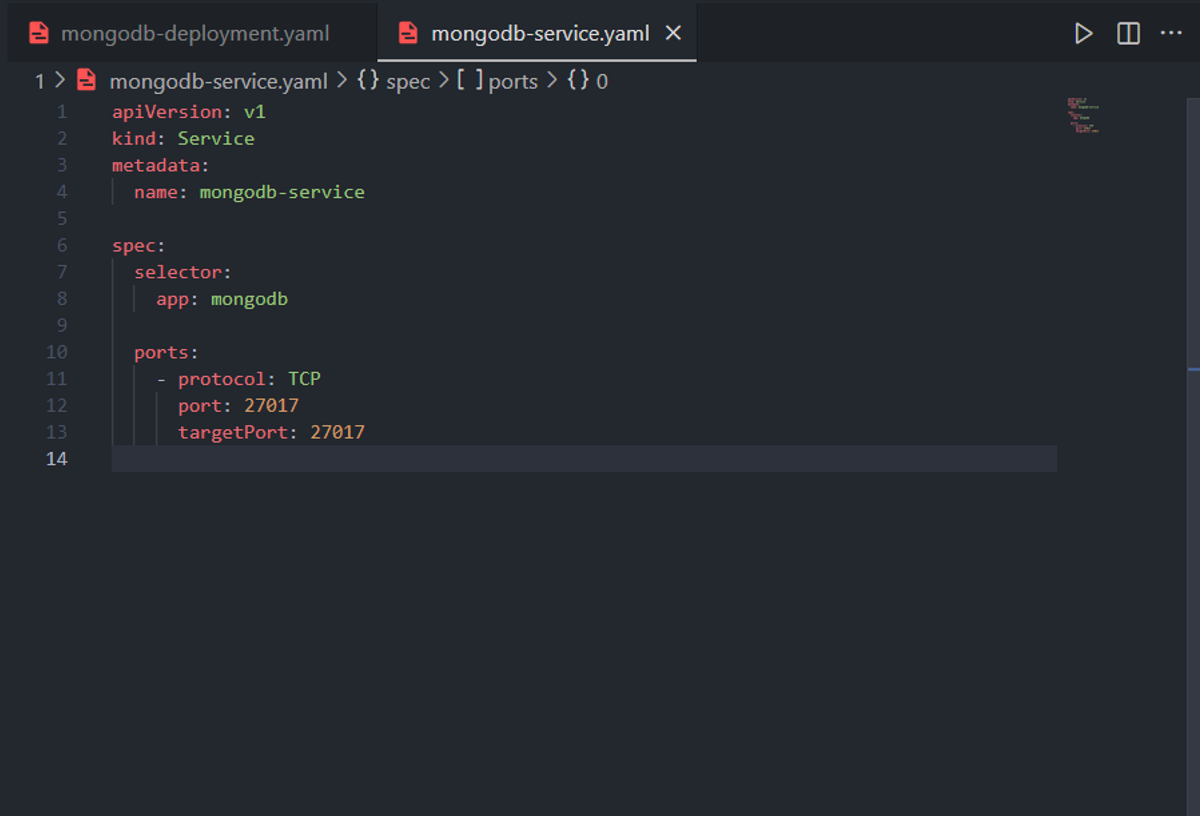
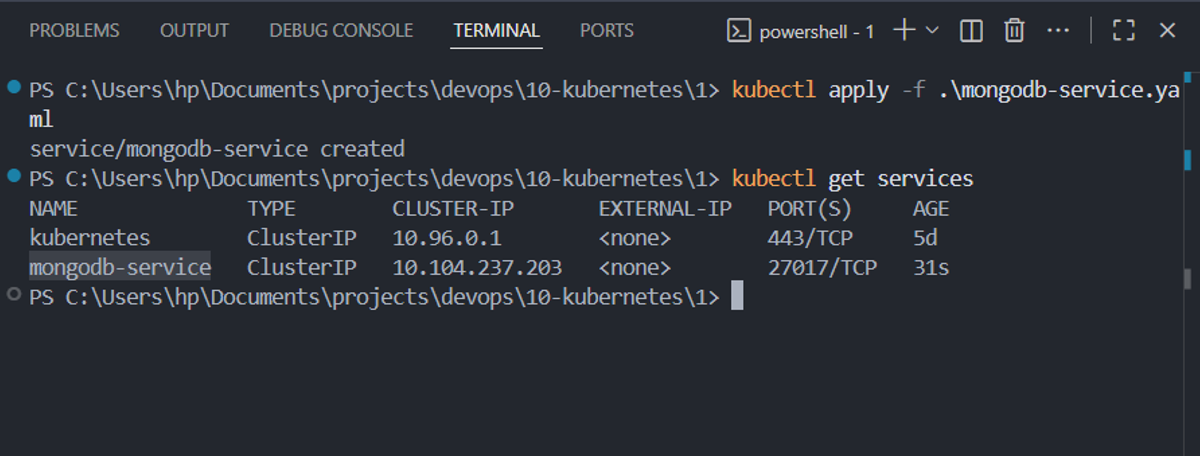
Step 3: mongodb-service.yaml
Pods in kubernetes are ephemeral by default, meaning they get a new ip address whenever they die and get re-created... we need a stable static ip address so that other clients inside our cluster can communicate with our mongodb pods.
And for that we create a mongodb-service.yaml file with the following attributes:
- spec.selector.app: mongodb: meaning that traffic that hits this service should be forwarded to pods that are named mongodb
- spec.ports: we define the port of the service 27017 and the target ports of the associated pods which is 27017 (we used 27017 twice to keep it simple)
We apply this service:
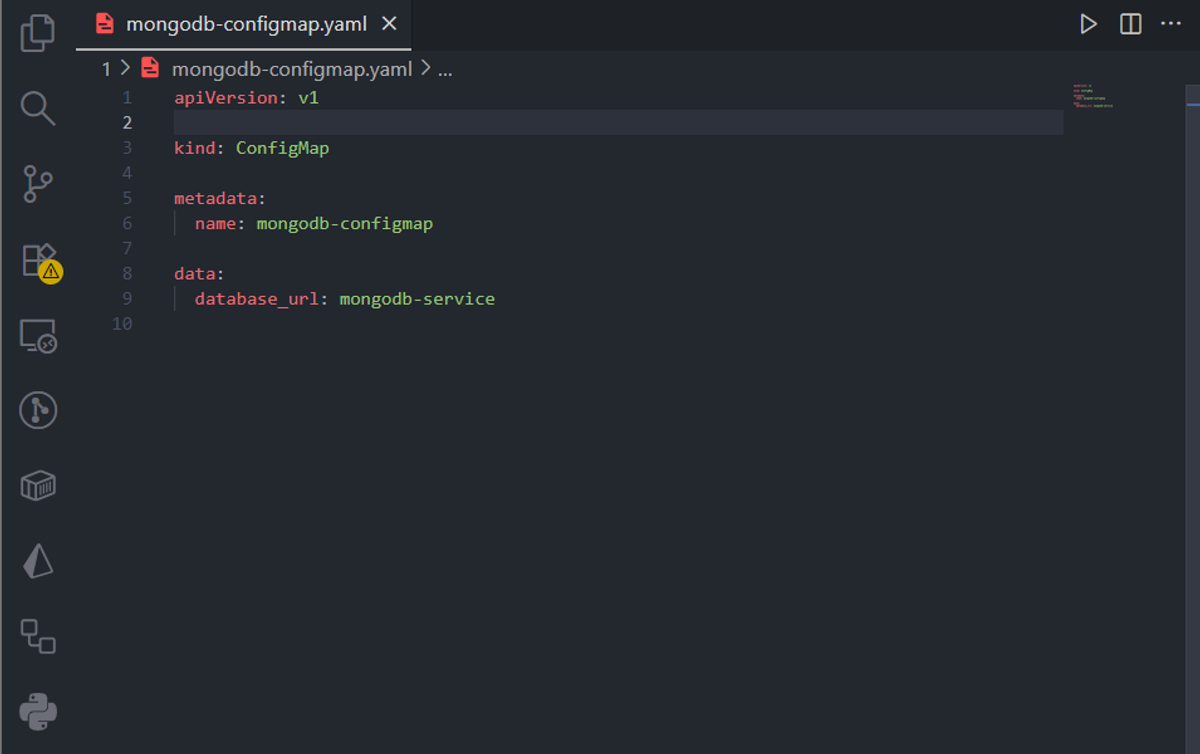
Step 4: mongodb-configmap.yaml
ConfigMap files are similar to Secret files by the fact that they both store configuration variables, env variables etc... but ConfigMap files have less strict security when dealing with them, for example Secret files are usually not pushed in version control systems like git etc...
Here we define just one property which is database_url which we set it to have mongodb-service as a value... This is simpler because we didnt need to specifiy the ip address of the mongodb-service and instead we let kubernetes handle DNS resolution for us by replacing mongodb-service by its actual internal ip address
We will later reference this variable in mongo-express deployment in order for its pods to be able to connect to mongodb database
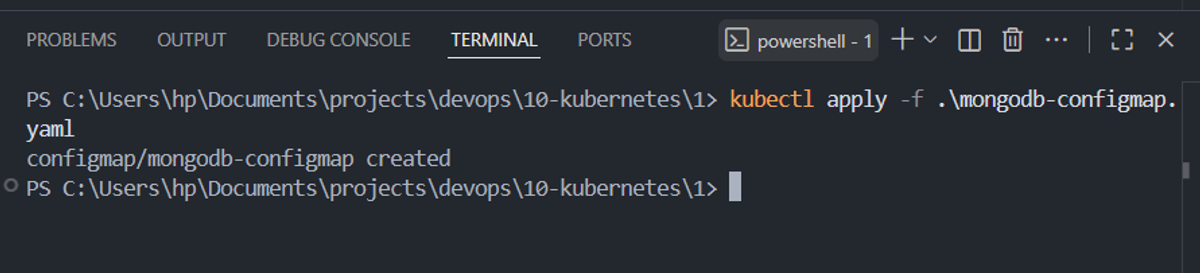
We apply this ConfigMap file:
Chapter 2: Mongo Express deployment setup
Step 5: mongoexpress-deployment.yaml
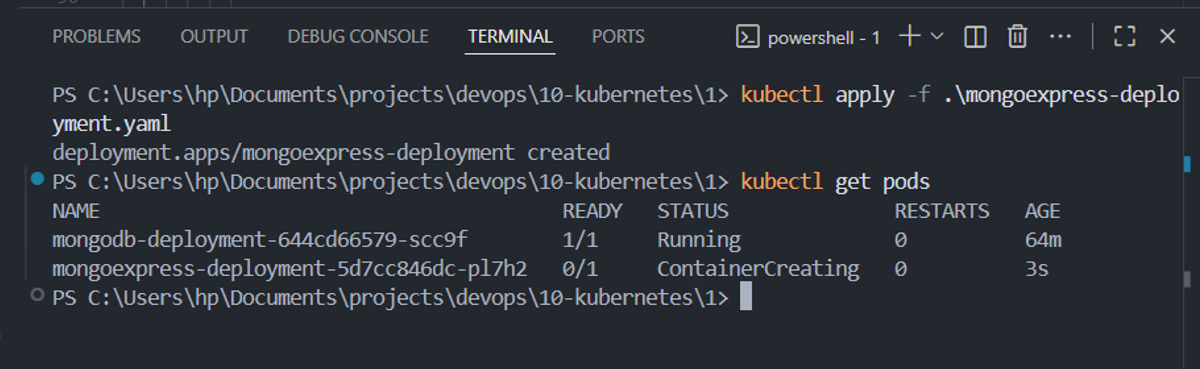
We use similar patterns to what we used when creating the mongodb-deployment file plus adding the ME_CONFIG_MONGODB_SERVER container variable needed for Mongodb Express to access our mongodb database
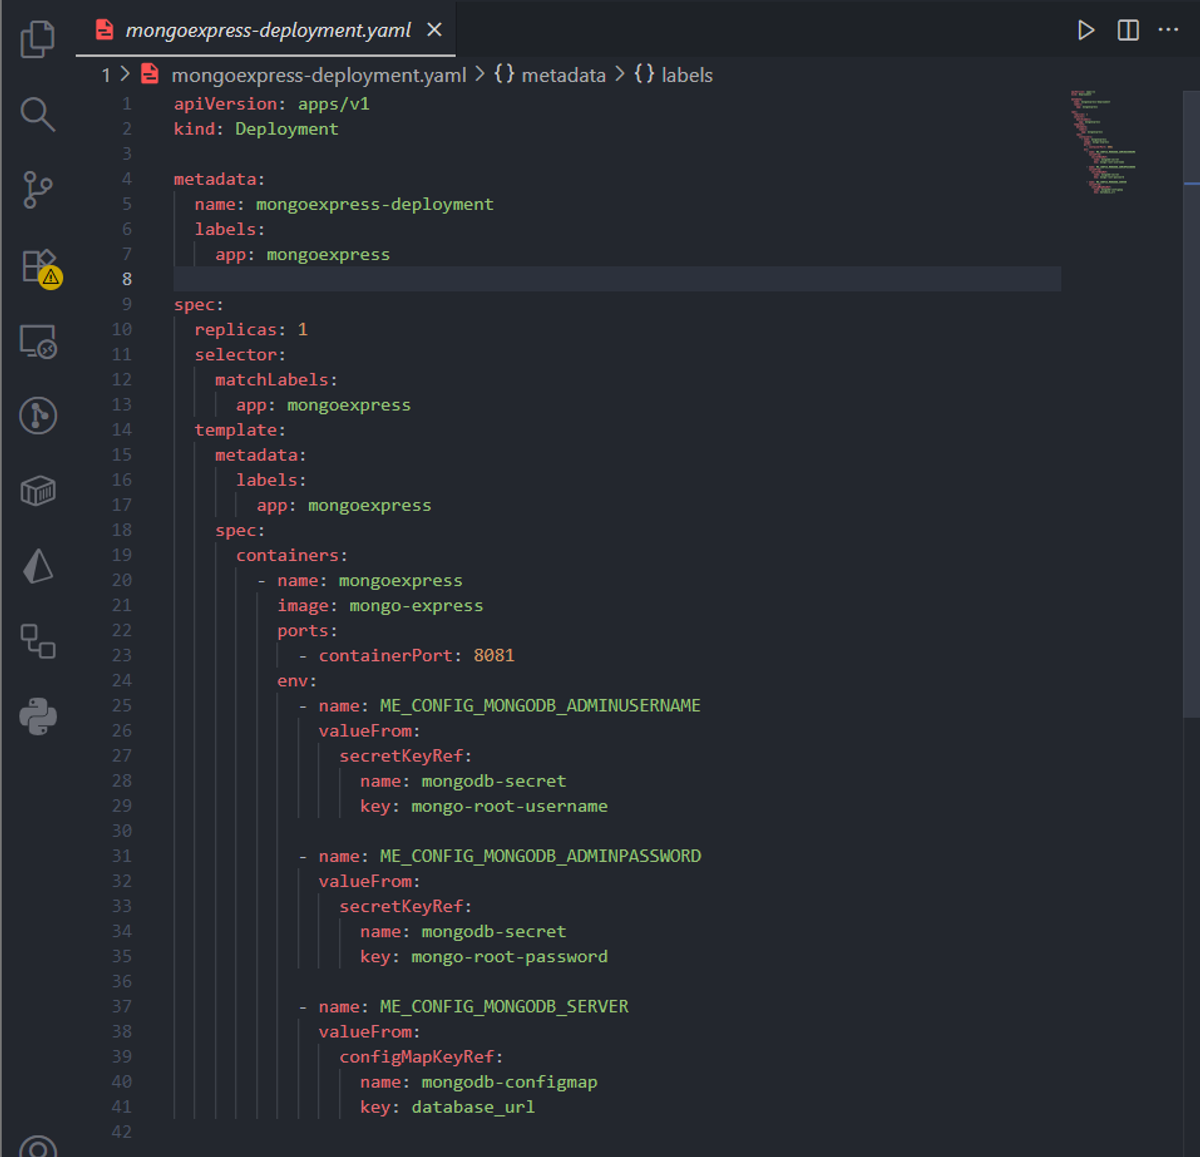
We apply this deployment by running:
Step 6: mongoexpress-service.yaml
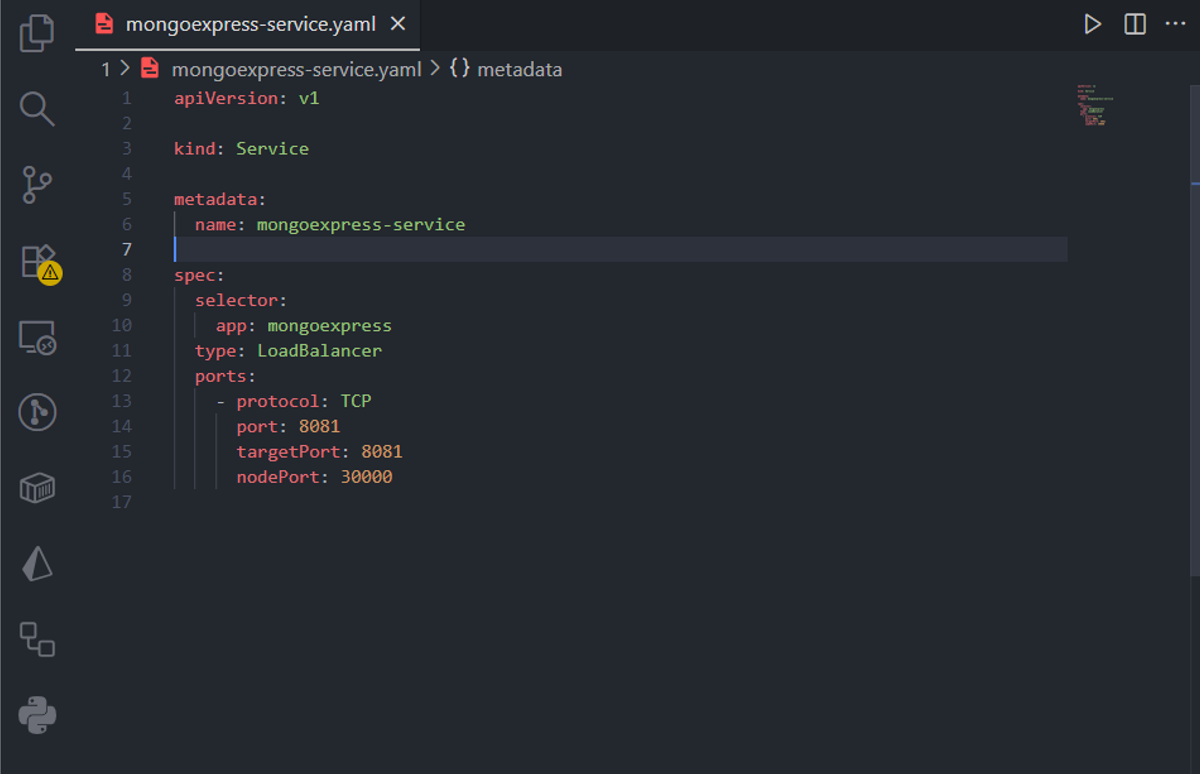
This mongoexpress-service.yaml file will expose our mongoexpress-service pods to be able to be accessed from outside the cluster through our web browser. We used the following attributes to make that happen:
- spec.selector.app: mongoexpress: associates this service with our mongoexpress pods so that it can pass traffic from/to it
- spec.type: LoadBalancer: in cloud providers this will provision a load balancer but in our minikube local cluster, it will give us an ip address we can use to access Mongo Express through the browser, essentially it exposes mongoexpress pods outside the cluster
- For ports we used port: 8081 as a port of this service to be used internally in the cluster, targetPort: 8081 which is the target port used by our mongoexpress pods, nodePort: 30000, the port exposed externally and we can use it in the browser to access the web UI of Mongo Express
We apply this service
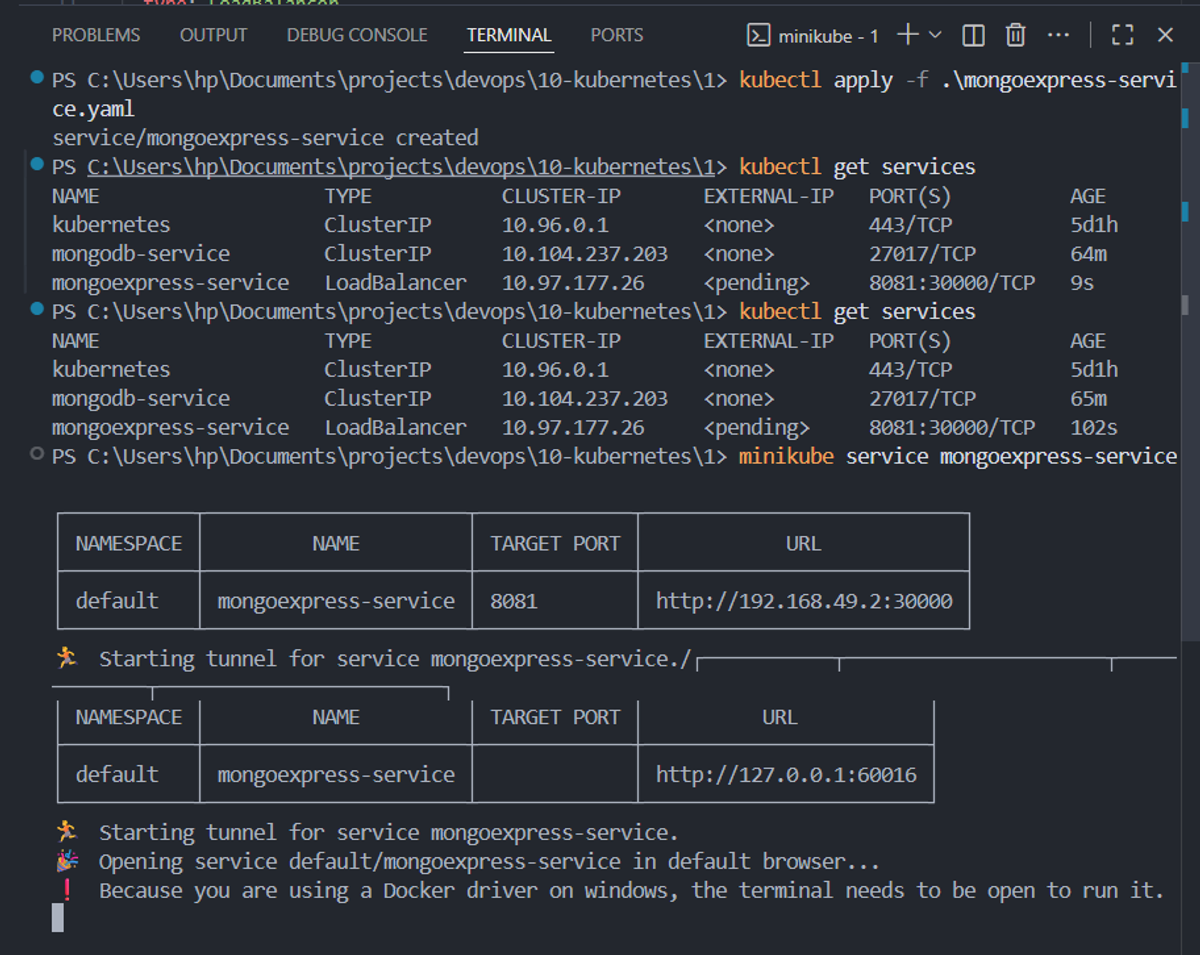
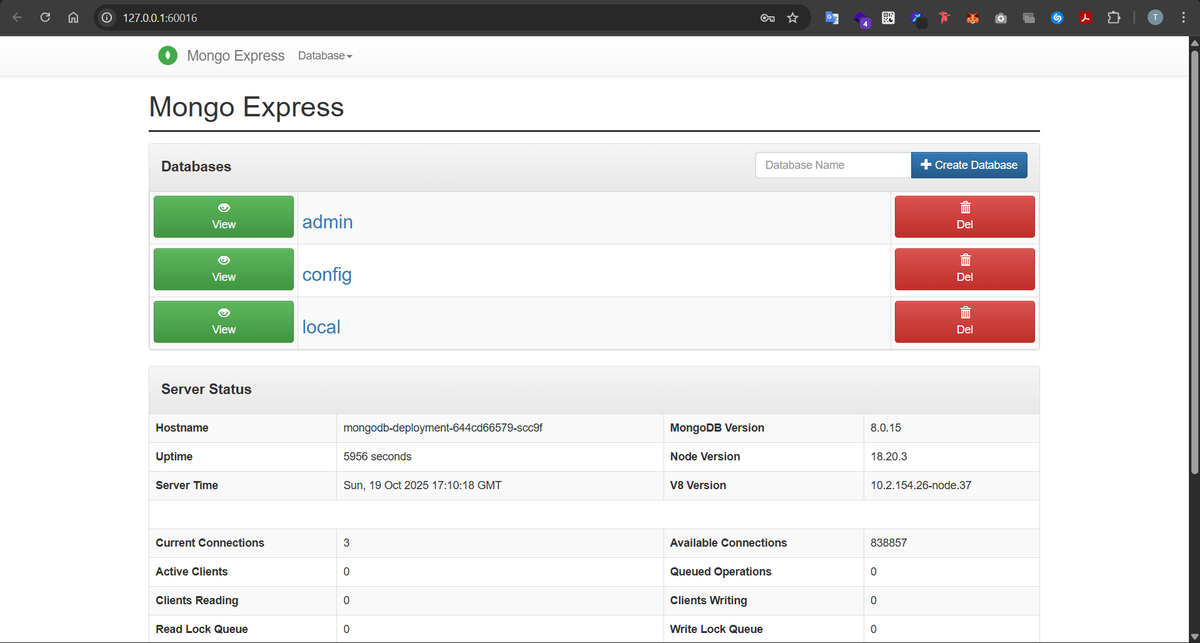
Step 7: Accessing Mongo Express through the browser